Introduction.
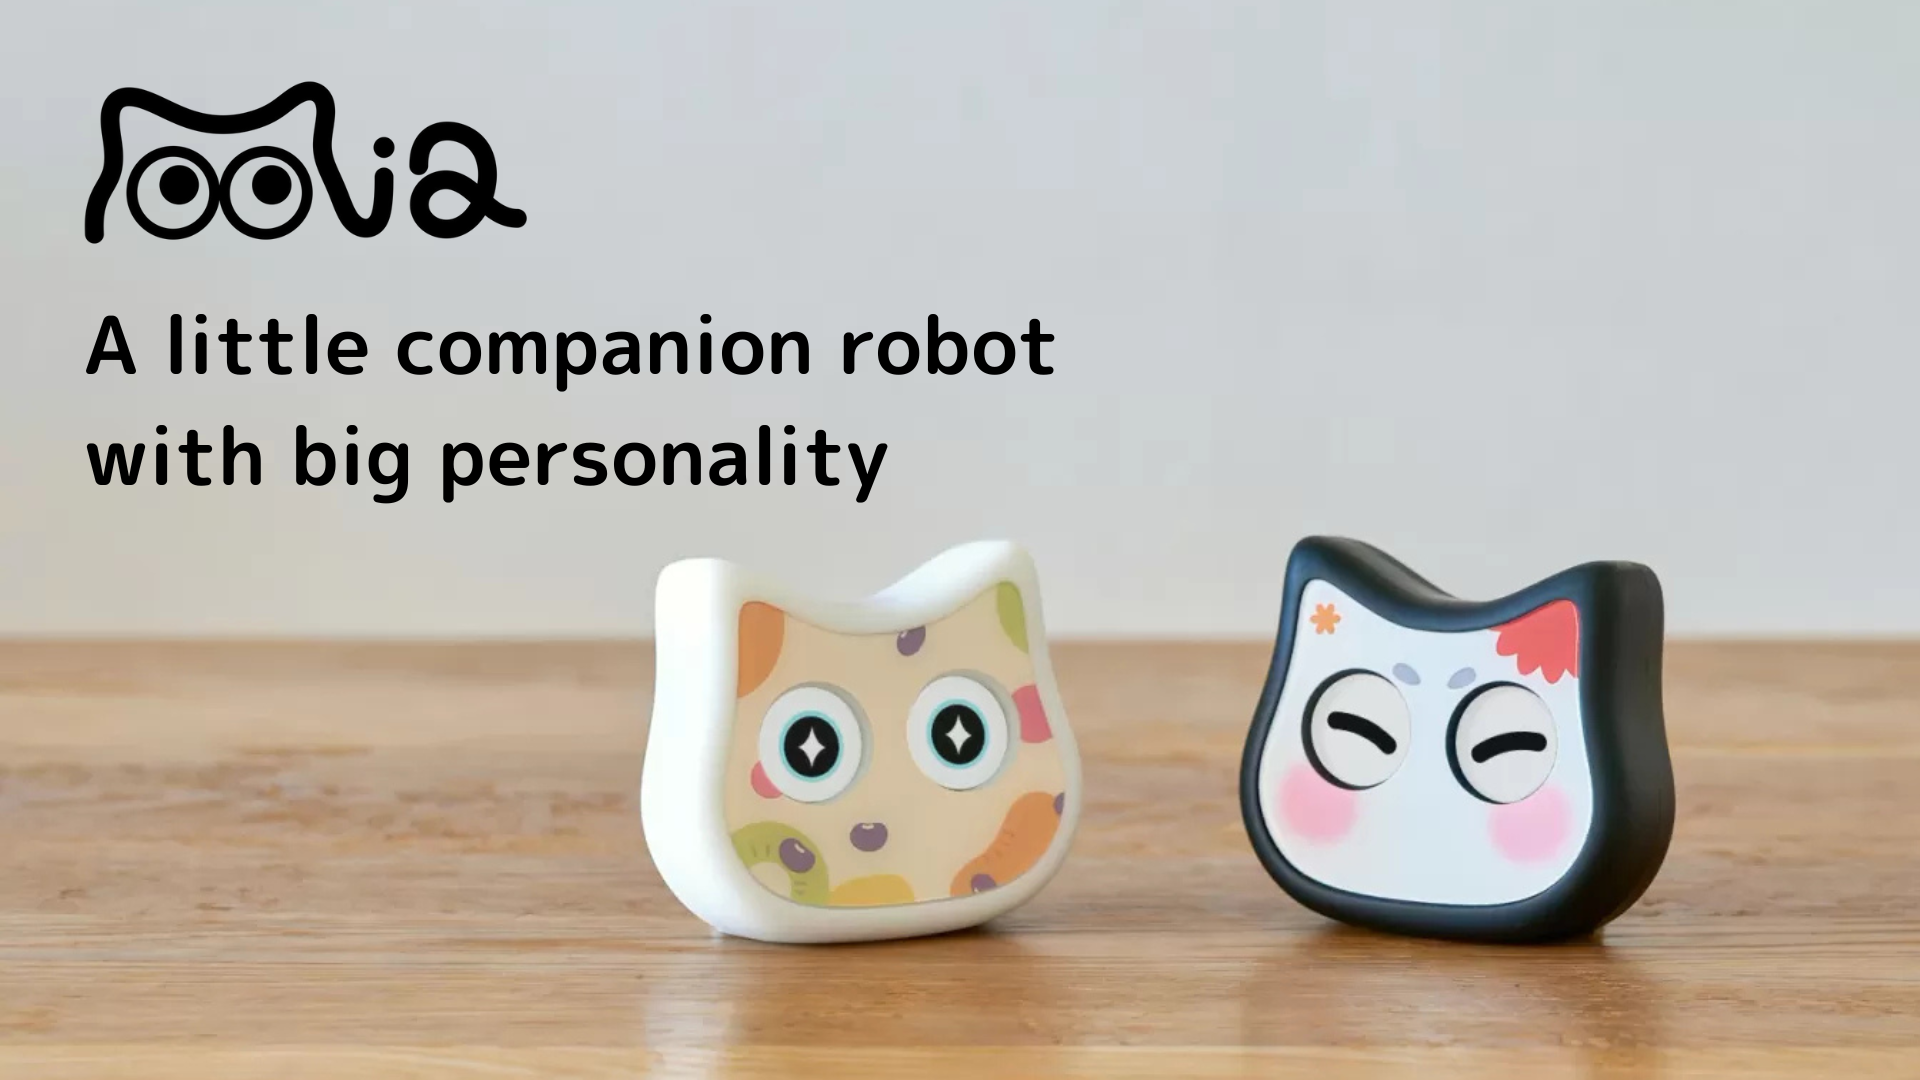
I am now developing “Mia,” a talking cat-shaped robot that speaks in various dialects.
When a new announcement is added, a push notification will be sent to the app, and when the user clicks on the push notification, the user will be redirected to the list of announcements. When a new notification is added, the app will push the notification to the list of notifications.
In other words, we would like to centralize the management of announcements by posting them on our website.
This time, we will attempt to implement a web view display of the list of announcements to be posted on the HP and application push notifications of new announcements.
Web View Display of Notices List
In this case, I would place the notification traffic line at the top of the page in the settings screen, rather than in the footer at the bottom of the screen.
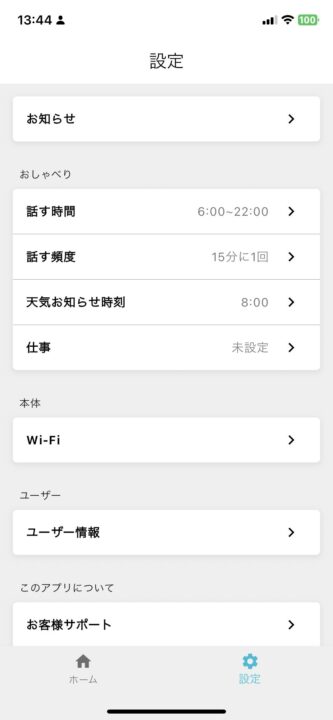
Add “Notices” as a list item on the Settings screen and tap it to display the NoticeScreen.
/lib/screens/home/settings_tab.dart
import 'package:clocky_app/screens/home/notice_screen.dart';
// 省略

class SettingsTab extends ConsumerStatefulWidget {
  const SettingsTab({super.key});

  @override
  _SettingsTabState createState() => _SettingsTabState();
}

class _SettingsTabState extends ConsumerState {
  @override
  void initState() {
    super.initState();
  }

  @override
  Widget build(BuildContext context) {
    return Scaffold(
      appBar: AppBar(
        title: const Text("設定"),
        automaticallyImplyLeading: false,
      ),
      body: ListView(
        padding: const EdgeInsets.all(16.0),
        children: [
          buildSection(['お知らせ']), // お知らせセクションの追加
          // 他のセクションは省略
        ],
      ),
    );
  }

  Widget buildSection(List items) {
    return Container(
      margin: const EdgeInsets.only(bottom: 24.0),
      decoration: BoxDecoration(
        color: Colors.white,
        borderRadius: BorderRadius.circular(5.0),
        boxShadow: [
          BoxShadow(
            color: Colors.grey.withOpacity(0.2),
            spreadRadius: 1.0,
            blurRadius: 5.0,
            offset: const Offset(0, 2),
          ),
        ],
      ),
      child: Column(
        crossAxisAlignment: CrossAxisAlignment.start,
        children:
            items.map((item) => buildItem(item, items.last == item)).toList(),
      ),
    );
  }

  Widget buildItem(String item, bool isLast) {
    return Container(
      decoration: BoxDecoration(
        border: isLast
            ? null
            : const Border(
                bottom: BorderSide(
                  color: Colors.grey,
                  width: 0.5,
                ),
              ),
      ),
      child: Column(
        children: [
          ListTile(
            title: Row(
              mainAxisAlignment: MainAxisAlignment.spaceBetween,
              children: [
                Text(
                  item,
                  style: const TextStyle(
                    fontSize: 15,
                    fontWeight: FontWeight.bold,
                  ),
                ),
              ],
            ),
            trailing: const Icon(Icons.chevron_right),
            onTap: () async {
              if (item == 'お知らせ') {
                showModalBottomSheet(
                  context: context,
                  isScrollControlled: true,
                  enableDrag: false,
                  builder: (_) => const FractionallySizedBox(
                    heightFactor: 0.85,
                    child: NoticeScreen(),
                  ),
                );
              }
            },
          ),
        ],
      ),
    );
  }
}
In notice_screen.dart, WebViewController is initialized and the specified URL ( https://mia-cat.com/category/notice/) is loaded.
/lib/screens/home/notice_screen.dart
import 'package:flutter/material.dart';
import 'package:webview_flutter/webview_flutter.dart';

class NoticeScreen extends StatefulWidget {
  const NoticeScreen({super.key});

  @override
  _NoticeScreenState createState() => _NoticeScreenState();
}

class _NoticeScreenState extends State {
  late WebViewController _controller;

  @override
  void initState() {
    super.initState();
    _controller = WebViewController()
      ..loadRequest(Uri.parse('https://mia-cat.com/category/notice/'));
  }

  @override
  Widget build(BuildContext context) {
    return Scaffold(
      appBar: AppBar(
        title: const Text('お知らせ'),
        leading: Container(),
        actions: [
          IconButton(
            icon: const Icon(Icons.close),
            onPressed: () {
              Navigator.of(context).pop();
            },
          ),
        ],
      ),
      body: WebViewWidget(controller: _controller),
    );
  }
}
After the “Announcements” was added to the top of the settings page, a list of articles posted in the Announcements category of the HP is now displayed in the Web view when clicked.

FCM notification and transition control on tap
As for this one, we first tried to automate it. In other words, when a new post is published in the Notifications category of WordPress, a push notification is automatically sent to the application.
However, since the implementation was somewhat complicated and it is unlikely at this point that we will be notified that often, we decided to switch to sending notifications manually from the Firebase console for the time being.
In a previous article here, I described manually sending test FCM notifications from the Firebase console.
At this time, we did not need to control the screen transition on tap because we just went to the home screen when we tapped the notification, but this time we want the screen to transition to the settings screen, so we will slightly predominate the application code.
Modify main.dart as follows
Subscribe to a topic
All users subscribe to the topic all_users. This means that notifications are sent for the topic all_users will reach all subscribing users.
FirebaseMessaging.instance.subscribeToTopic('all_users');Screen transition when tapping a notification
_handleMessage function: Checks whether the key "notice" is included in the data of the received message, and if the value of the notice key is ” details “, the user is taken to the SettingTab screen.
void _handleMessage(RemoteMessage message) {
    if (message.data.containsKey('notice')) {
      final screen = message.data['notice'];
      if (screen == 'details') {
        navigatorKey.currentState?.push(MaterialPageRoute(builder: (_) => const SettingTab()));
      }
    }
}
main.dart Whole
import 'package:clocky_app/app_switcher.dart';
import 'package:clocky_app/firebase_options.dart';
import 'package:clocky_app/screens/home/settings_tab.dart';
import 'package:clocky_app/styles/colors.dart';
import 'package:clocky_app/styles/text_styles.dart';
import 'package:clocky_app/widgets/show_custom_message_bar.dart';
import 'package:firebase_core/firebase_core.dart';
import 'package:firebase_messaging/firebase_messaging.dart';
import 'package:flutter/material.dart';
import 'package:flutter_riverpod/flutter_riverpod.dart';
import 'package:overlay_support/overlay_support.dart';

final GlobalKey navigatorKey = GlobalKey();
void main() async {
  WidgetsFlutterBinding.ensureInitialized();
  await Firebase.initializeApp(options: DefaultFirebaseOptions.currentPlatform);
  // ヘルスコネクトが利用できるようになった後に有効化する
  // await initializeBackgroundService();
  runApp(const ProviderScope(child: ClockyApp()));
}

class ClockyApp extends ConsumerStatefulWidget {
  const ClockyApp({super.key});

  @override
  _ClockyAppState createState() => _ClockyAppState();
}

class _ClockyAppState extends ConsumerState {
  @override
  void initState() {
    super.initState();
    initializeApp();
    setupFirebaseMessaging();
  }

  Future initializeApp() async {
    // フォアグラウンドでのPush通知
    FirebaseMessaging.onMessage.listen((RemoteMessage message) {
      if (message.notification != null) {
        showCustomMessageBar(
          context: navigatorKey.currentContext!,
          title: message.notification!.title ?? "通知",
          message: message.notification!.body ?? "新しい通知",
          onClose: () {
            debugPrint("Notification closed");
          },
          onTapped: () {
            debugPrint("Notification tapped");
            _handleMessage(message);
          },
          duration: Duration.zero,
        );
      }
    });
  }

  void setupFirebaseMessaging() {
    FirebaseMessaging.instance.subscribeToTopic('all_users');

    FirebaseMessaging.onMessageOpenedApp.listen((RemoteMessage message) {
      _handleMessage(message);
    });

    FirebaseMessaging.instance
        .getInitialMessage()
        .then((RemoteMessage? message) {
      if (message != null) {
        _handleMessage(message);
      }
    });
  }

  void _handleMessage(RemoteMessage message) {
    if (message.data.containsKey('notice')) {
      final screen = message.data['notice'];
      if (screen == 'details') {
        navigatorKey.currentState
            ?.push(MaterialPageRoute(builder: (_) => const SettingsTab()));
      }
    }
  }

  @override
  Widget build(BuildContext context) {
    return OverlaySupport.global(
      child: MaterialApp(
        debugShowCheckedModeBanner: false,
        navigatorKey: navigatorKey,
        title: 'Clocky App',
        theme: ThemeData(
          colorScheme: const ColorScheme.light(
            primary: AppColors.primaryColor,
            secondary: AppColors.primaryColorDark,
            background: AppColors.backgroundColor,
            onBackground: AppColors.textColor,
          ),
          textTheme: const TextTheme(
            displayLarge: TextStyles.titleStyle,
            bodyLarge: TextStyles.bodyStyle,
          ),
        ),
        routes: {
          '/': (context) => const AppSwitcher(),
        },
      ),
    );
  }
}
Configuration on the Firebase console screen
By entering the following on the Firebase console screen, the app will recognize this FCM notification and will be able to move to the settings screen when the notification is tapped.
- Topic: all_users
- (custom data) key: notice, value: details
operation check
Publish an article on the recently implemented mute function by selecting the category “Announcements”.
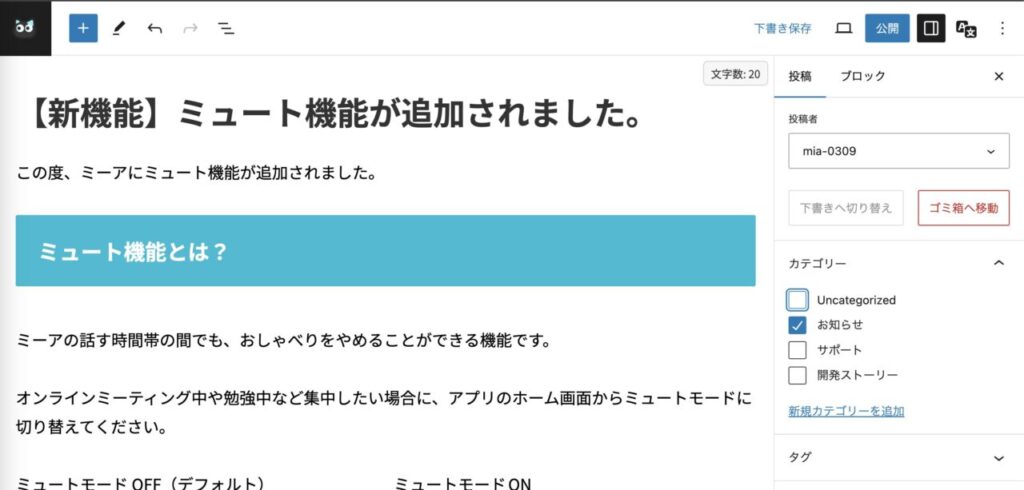
After publishing, open the Firebase console and enter the notification title text as shown below.

Then, in the target, enter topic → all_users.

Select Send Now, and in the Custom Data column of the Other Options
- Key: NOTICE
- Value: detail
and click “Confirm

Click “Publish” when a pop-up window appears asking you to reconfirm.

foreground
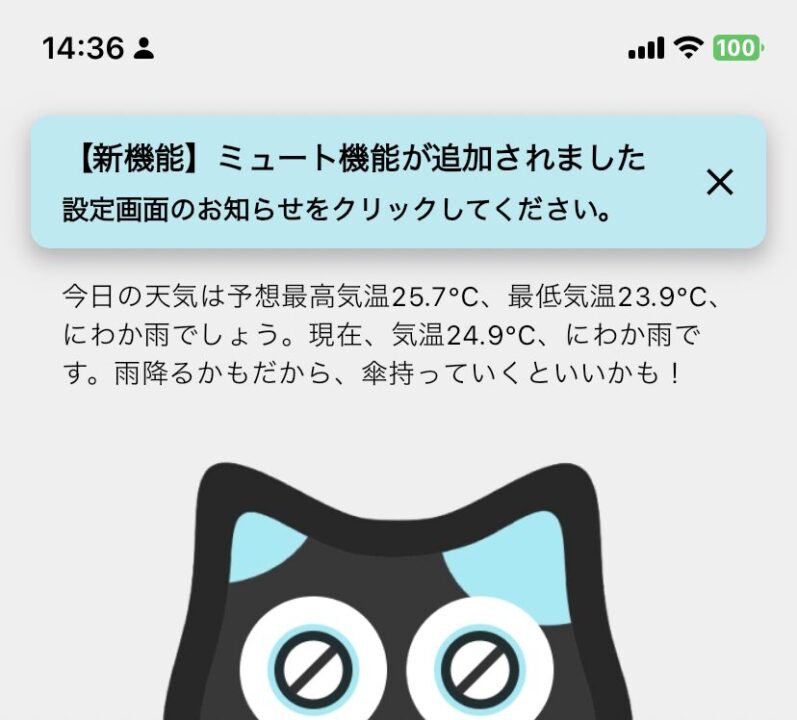
background
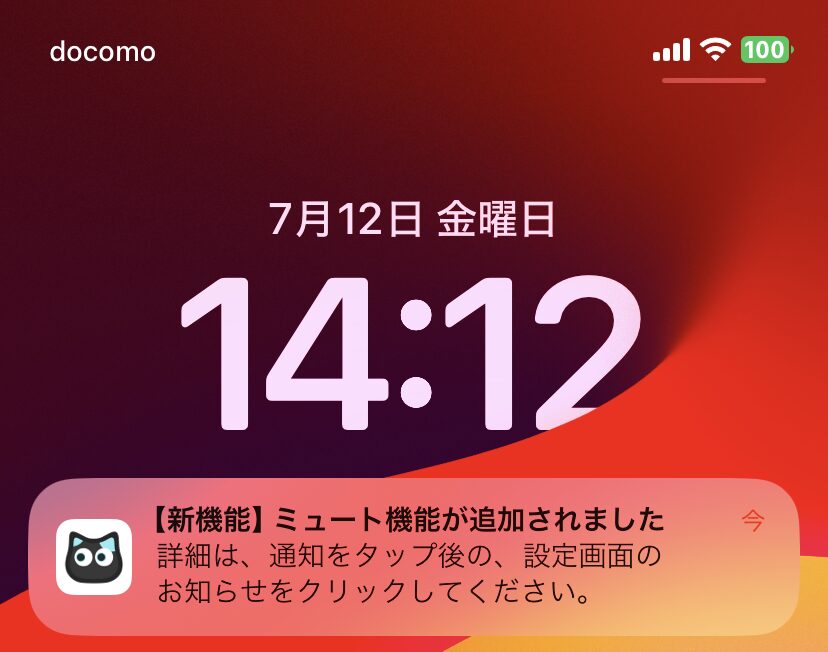
When you tap a notification
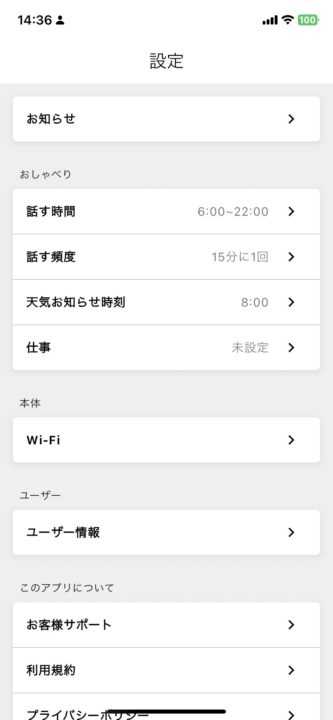
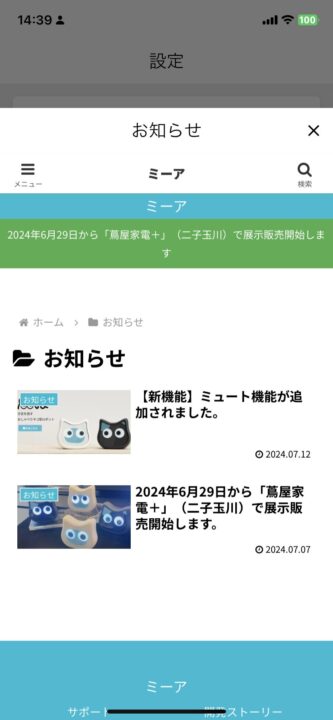
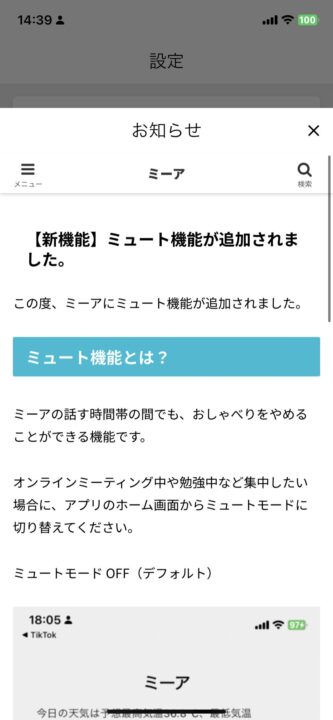
We confirmed that notifications appear successfully both in the foreground and in the background, tap to go to the settings screen, and click on Notifications to see the list of notifications.
In actual operation, by duplicating the first FCM notification, the notification conditions (topic and custom data keys and values) will also be retained, so it would be a good idea to duplicate it, change only the message title, and distribute it.
Although it is manual, it seems to be surprisingly hassle-free so that we will try this operation for the time being.

