方言を話すおしゃべり猫型ロボット『ミーア』をリリースしました(こちらをクリック)

Development/Design

application(Flutter)

[Flutter] How to implement infinite scrolling to seamlessly load user-created phrases.

Extended state management, using a class (UserPhraseState) containing isLoading and hasMore in addition to the list of phrases, so that the UI can correctly determine if the list of phrases is empty, if data is loading, and if data even exists. The UI can now correctly determine if the list of phrases is empty, if data is being loaded, and if data exists, allowing for infinite scrolling.
Development/Design

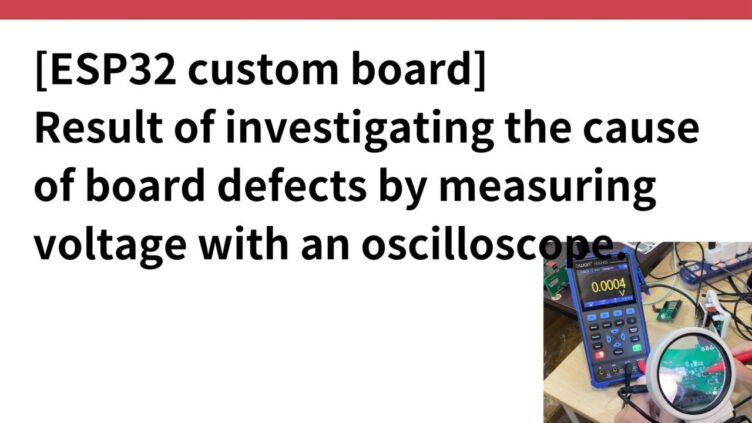
[ESP32 custom board] Result of investigating the cause of board defects by measuring voltage with an oscilloscope.

When wiring voltage is to be measured, the wiring on the board is often covered with resist (insulation layer), so voltage cannot be measured by applying a probe over the wiring as it is, so lightly scratch the area to be measured with a cutter to expose the copper foil part before measuring the voltage.
built-in(C++)

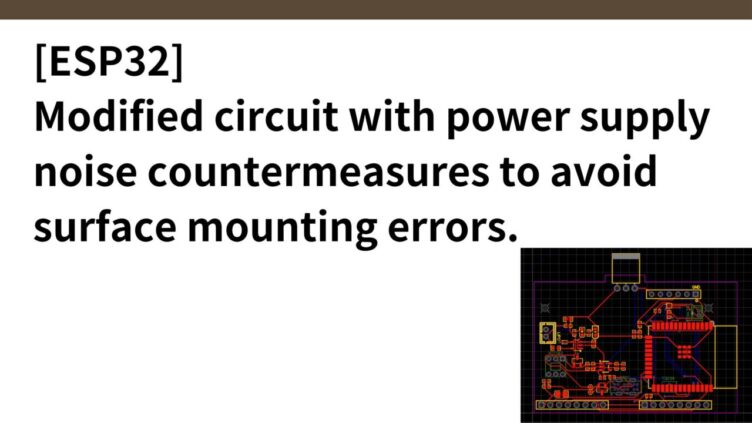
[ESP32] Modified circuit with power supply noise countermeasures to avoid surface mounting errors.

The MAX98357 itself needs to be connected to pins 25, 26 and 22 of the ESP32 WROOM 32E. keep the I2S signals (BCLK, LRCLK and DIN) as close as possible to pins 25 and 26 of the ESP32, as keeping the wires short reduces the risk of signal degradation and cross-talk. Attempt to optimise decoupling capacitors in the circuitry around the power supply to reduce power supply noise.
built-in(C++)

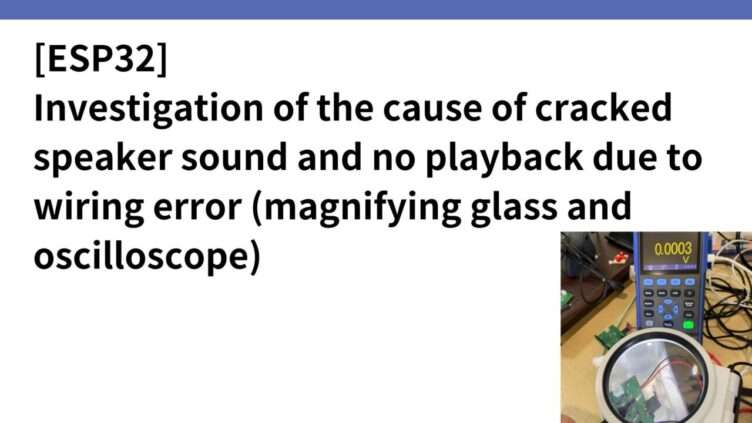
[ESP32] Investigation of the cause of cracked speaker sound and no playback due to wiring error (magnifying glass and oscilloscope)

When the IC package of the Class D amplifier was changed from TQFN to WLP, 4 out of 25 were defective in the speaker area as follows. Investigate the cause of sound crackling and audio not being played back. Verify if the sound crackling is resolved by first lowering the volume in the application. Next, using a magnifying glass, visually check for wiring defects.
Development/Design

[Stock issue] What if a part is out of stock when I place my order? Using JLCPCB’s pre-order.

In order to deal with out-of-stock issues like this one when they decide to order, JLCPCB allows pre-ordering, which means that the parts can be ordered before the PCB assembly is ordered and kept in stock at JLCPCB until the PCBA service is required. These pre-ordered parts are sent together with the PCB (and surface mount if you have also asked for surface mount), rather than separately from the PCB and only the parts are sent to you.
Development/Design

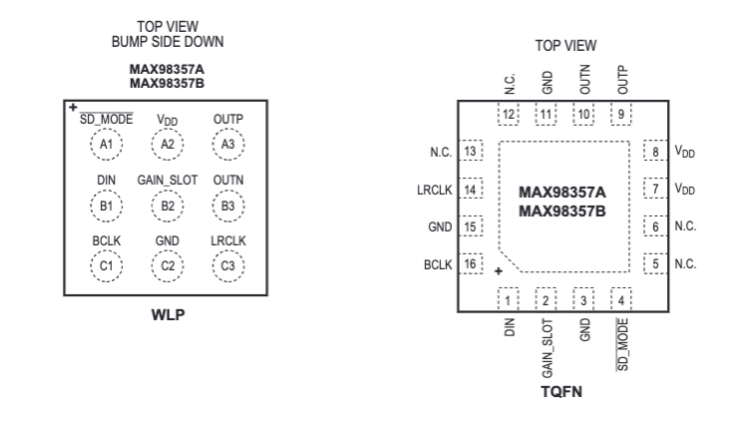
[MAX98357A] Changed IC package of class D amplifier from TQFN to WLP

The MAX98357A series of ClassD audio amplifiers is available in TQFN and WLP packages. The WLP package is smaller and more cost-effective than the conventional TQFN package, as it does not require expensive through-hole vias (connection pins that pass through the PCB).
application(Flutter)

[Flutter] How to convert m4a to mp3 using ffmpeg_kit_flutter_audio

Change to a policy of converting m4a to mp3 using the ffmpeg_kit_flutter_audio package. This package supports a wide range of formats using external libraries and includes the lame library needed for conversion to mp3 format.
application(Flutter)

[Flutter] How to make a modal display scrollable in WebView.

There is a user settings screen in the application, in which the Terms of Use and Plapori items are prepared, so that when this item is tapped, each content is displayed in WebView and can also be closed. This time, since a simple implementation is sufficient, webview_flutter is introduced.
application(Flutter)

[Android] The role of build.gradle in Flutter and how to set it up

In Flutter, Gradle is used to manage the build of the Android part of the code written in Dart when it is compiled into a native application; the Gradle Wrapper makes it possible to build the project without installing Gradle Gradle Wrapper.
application(Flutter)

[Flutter] Setup to run the application on an actual Android device.

This article describes the steps to build a Flutter application on an actual Android device. First, the actual Android device on which the Flutter app is to be built needs to be recognised as a development device: set up the Android SDK using Android Studio and install the Flutter plugin and Java.