
A reminder on how to create an X bot in Google Apps Script (GAS) that automatically posts from a spreadsheet to X via the X (formerly Twitter) API v2.
In the previous article below, we described the steps for posting text from a spreadsheet to Twitter using GAS. Click here to create a text-only Twitter Bot post.

This time, regarding text + image submissions. It was more complicated than I imagined, so I’ll summarize.
Assumptions (as of September 18, 2023): OAuth1.0 + Twitter API v1.1
Twitter API v2 does not yet support image uploads
At this time, OAuth 1.0a must be used to tweet images using the Twitter API.
To implement tweets with images,
- Media file upload: Twitter API v1.1
Endpoint: https://upload.twitter.com/1.1/media/upload.json - Posting tweets: Twitter API v2
Endpoint: https://api.twitter.com/2/tweets
and the two versions of the API endpoints need to be combined, as Twitter API v2 still only supports text posting and not media file uploading at this time.
And Twitter API v2 supports OAuth2.0, but Twitter API v1.1 does not support OAuth2.0. So you need to use OAuth1.0.
It is too complicated, so I would like to see Twitter API v2 support media files and upload functionality as soon as possible.
Obtain API key for OAuth1 authentication
Therefore, it is necessary to obtain a new API key for OAuth1 authentication from the Developer Portal.
For OAuth2, only Client ID and Client Secret are required, but for OAuth1, the following four are required
Consumer API Key
Consumer Secret
Access Token
Access Token Secret
All are listed in the Keys and Tokens tab, so regenerate and note the values.

OAuth1 library added
We need to go back to the GAS script and add the new OAuth1 library from the left library.
The GAS script also has two file names, one for text only and the other for text-with-image, so it would be less confusing to create a new file for posting tweets with images this time.
The OAuth1 script ID is as follows
1CXDCY5sqT9ph64fFwSzVtXnbjpSfWdRymafDrtIZ7Z_hwysTY7IIhi7s
OAuth1 will appear like this, so add it.

GAS script for tweets with images
Prepare image URL in a spreadsheet
This time, prepare a column named image_url in column F of the spreadsheet as shown below, and place the publicly accessible image URL here in the test.
The URL for displaying this image is here.
https://kazulog.fun/wp-content/uploads/2023/08/dc-servo.jpg

GAS Script
Copy and paste the code below.
Consumer API Key
Consumer Secret
Access Token
Access Token Secret
insert the value you just refrained from.
const CONSUMER_API_KEY = "XXX";
const CONSUMER_API_SECRET = "XXX";
const ACCESS_TOKEN = "XXX";
const ACCESS_TOKEN_SECRET = "XXX";
// OAuth1認証
const getTwitterService = function() {
return OAuth1.createService( "Twitter" )
.setAccessTokenUrl( "https://api.twitter.com/oauth/access_token" )
.setRequestTokenUrl( "https://api.twitter.com/oauth/request_token" )
.setAuthorizationUrl( "https://api.twitter.com/oauth/authorize" )
.setConsumerKey( CONSUMER_API_KEY )
.setConsumerSecret( CONSUMER_API_SECRET )
.setAccessToken( ACCESS_TOKEN, ACCESS_TOKEN_SECRET )
.setCallbackFunction('authCallback'); // コールバック関数名
}
// OAuthコールバック
function authCallback(request) {
const service = getTwitterService();
const authorized = service.handleCallback(request);
if (authorized) {
return HtmlService.createHtmlOutput('Success!');
} else {
return HtmlService.createHtmlOutput('Denied.');
}
}
function tweetWithImage() {
const twitter = getTwitterService()
var tweetData = pickUpTweet("twitter_text"); // ツイートの内容と画像URLを取得
if(twitter.hasAccess()) {
const endpoint1 = "https://upload.twitter.com/1.1/media/upload.json"
const endpoint2 = "https://api.twitter.com/2/tweets";
if (tweetData.imageUrl) {
var imgBlob = UrlFetchApp.fetch(tweetData.imageUrl).getBlob();
var img_64 = Utilities.base64Encode(imgBlob.getBytes()); //Blobを経由してBase64に変換
var img_option = { 'method':"POST", 'payload':{'media_data':img_64} };
var image_repsponse = twitter.fetch(endpoint1,img_option);
var image_result = JSON.parse(image_repsponse.getContentText());
var mediainfo = {
media_ids: [image_result['media_id_string']]
}
var payload = {
text: tweetData.text,
media: mediainfo
}
var response = twitter.fetch(endpoint2, {
method: "post",
muteHttpExceptions: true,
payload: JSON.stringify(payload),
contentType: "application/json"
});
var result = JSON.parse(response.getContentText());
} else {
Logger.log(service.getLastError())
}
}
}
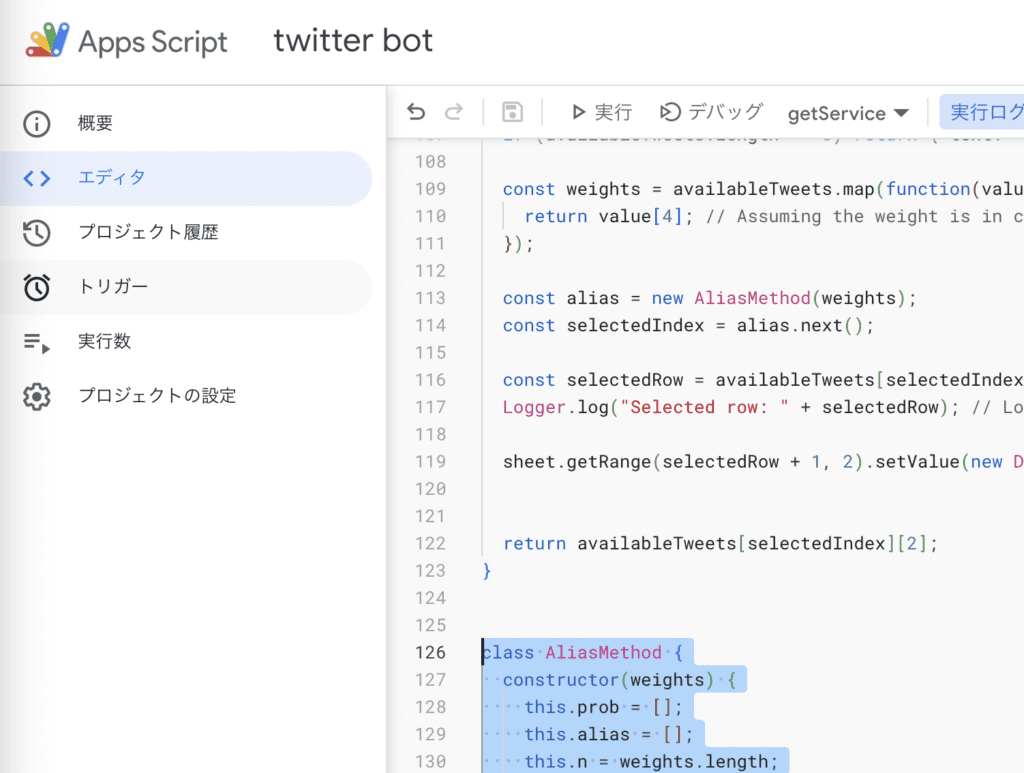
function pickUpTweet(sheetName) {
const sheet = SpreadsheetApp.getActiveSpreadsheet().getSheetByName(sheetName);
const lastRow = sheet.getLastRow();
const data = sheet.getRange("A1:F" + lastRow).getValues();
const availableTweets = data.filter(function(value) {
return value[1] == '';
});
if (availableTweets.length == 0) return { text: '', imageUrl: '' };
const weights = availableTweets.map(function(value) {
return value[4]; // Assuming the weight is in column E
});
const alias = new AliasMethod(weights);
const selectedIndex = alias.next();
const selectedRow = availableTweets[selectedIndex][0];
Logger.log("Selected row: " + selectedRow); // Log the selected row number
sheet.getRange(selectedRow + 1, 2).setValue(new Date());
return {
text: availableTweets[selectedIndex][2], // Assuming the text is in column C
imageUrl: availableTweets[selectedIndex][5] // Assuming the image URL is in column F
};
}
class AliasMethod {
constructor(weights) {
this.prob = [];
this.alias = [];
this.n = weights.length;
const small = [];
const large = [];
const scaledWeights = weights.map((w) => w * this.n);
for (let i = 0; i < this.n; i++) {
if (scaledWeights[i] < 1) {
small.push(i);
} else {
large.push(i);
}
}
while (small.length > 0 && large.length > 0) {
const l = small.pop();
const g = large.pop();
this.prob[l] = scaledWeights[l];
this.alias[l] = g;
scaledWeights[g] = scaledWeights[g] + scaledWeights[l] - 1;
if (scaledWeights[g] < 1) {
small.push(g);
} else {
large.push(g);
}
}
while (large.length > 0) {
const g = large.pop();
this.prob[g] = 1;
}
while (small.length > 0) {
const l = small.pop();
this.prob[l] = 1;
}
}
next() {
const i = Math.floor(Math.random() * this.n);
return Math.random() < this.prob[i] ? i : this.alias[i];
}
}
Execution!
As shown below, the text with images was executed successfully.


Set Bot Posting Interval
Trigger function of GAS
Now that we have the ability to post to Twitter, the last step is to set the posting interval using the trigger function in GAS
Select “Triggers” from the left sidebar and click “Add Trigger” at the bottom right of the screen that opens

Select the function to execute (in this case, the tweet with the image you just created)
Select “Time-Driven” from the “Select Event Source” menu.

Then, a screen for setting the time interval will appear, so select the appropriate one and save it.

Now you can safely extract and post text with images from the spreadsheet at regular intervals and according to random weights.

コメント