
Introduction.
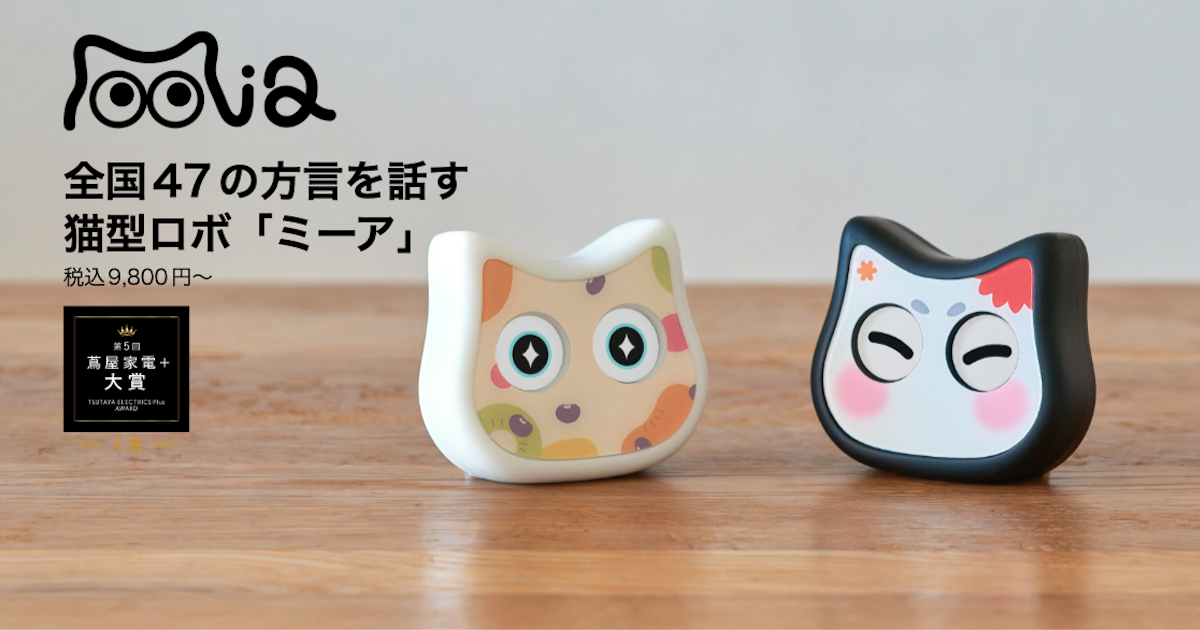
Developing “Mia,” a talking cat-shaped robot that speaks dialect.
In a previous article here, we described the problem of 100 delivered defective boards.

In this report, we describe how we dealt with the above defective products and simulated the procedure for packaging them.
We really wanted to release it on June 1, but for various reasons (see below), it is scheduled for June 8.
Defective boards can be replaced by changing the display.
Currently, Mia is being developed by myself, Mr. Inada, a product designer, and a software engineer.
Incidentally, for the assembly of the first 100 units, we decided to do it ourselves by hand. This was to cut costs and because we could not give clear instructions at the next stage of mass production if we did not know the entire process.
When I was about to give up on the defective substrate, Mr. Inada told me that there was nothing I could do about it.
The LCD display base and the display may be able to prevent interference between displays.”
reported and decided to give it a try.
The sides of the LCD display are shaved until there is no interference when it is fitted to the board, using a paper file and a stick file.


This took quite a bit of time, and I honestly thought to myself, “If the mounting pin headers on the board I received from the beginning had been level, this work would have been unnecessary,” but I completed 10 sets anyway.

Touch sensor soldered and mounted on board
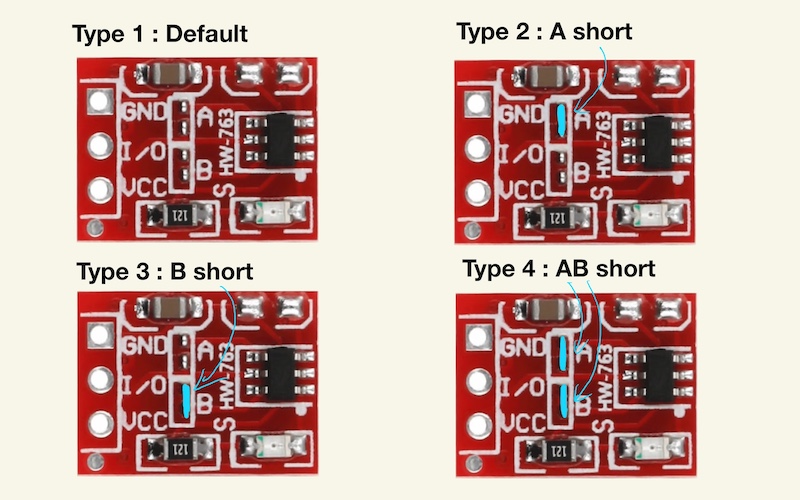
The TTP223 touch sensor used in this project arrived in a set of 100 pieces, so it is necessary to disassemble them one by one and solder the pin headers. Solder the pin headers one by one.
Also, by default, the LED glows as it senses when touched, but if it is installed as is, the LED red light color will shine through the white housing, giving it a robotic look, so the LED portion is cut off with nippers.


Incidentally, the TTP223 touch sensor can detect touch even if the LED is removed. Click here to read an article about its operation verification.
Screw and fix the board
The speaker is then placed on the back, the board and touch sensor placed on top of it, and screwed down.


This completes the back half of the mia.
Fit the acrylic plate and screw it in place.
Finally, the front of the mia needs to be installed.
But here, too, two problems arise
(1) Arrival of acrylic panels will be delayed to around 6/7,8.
(2) A 3D printer in front of Mia found a raised center section.
The first was, well, inevitable, but the second was completely unexpected.
This time, the first 100 units were created using a 3D printer instead of a mold, and like the boards, they were ordered from JLCPCB.
However, when I looked at the front 3D printer I received, I found that for some reason, only part of the white housing had a raised center.
The left side of the figure below is normal (although it is also slightly raised) and the right side is raised.


The acrylic panel is then fitted over this, but if it is raised, the acrylic panel will float and come off.

I wondered what to do about it, but this is also from Mr. Inada.
The bulge is likely to be eliminated by gluing the panels together so that they meet around the stiffer side.”
advised us to verify this when we actually receive the panels, which are scheduled to arrive on June 7 and 8.
For these reasons, we had no choice but to push back the release by one week from the original date of June 1.
Simulate packaging
This time, we also prepared a cardboard box exclusively for Mia, so we put the completed assembly of Mia in the cardboard box and in the cushioning material.


Then, the created, starting guide (paper) is attached to the top and packed.


in the end
We were able to simulate the whole process, even the packaging, without incident.
Now, if we can confirm that the panel can be successfully glued to the front of the enclosure when it arrives, we can just repeat the process to create it.
The work scene (at home) had a start-up feel.


Apple’s review process for the application was also more stringent, but we cleared it without incident, and as of the end of May, the application was ready for release.
We have already created a website and confirmed that we can accept Stripe payments.
The only thing to do was to set the production settlement to ON at the time of release (at this time, the settlement is set to disabled).
It has been less than a year since the idea was conceived, but the three of us have finally made it to this point, with more members joining us along the way.
Software, hardware, and electronic circuits were all difficult, but creating electronic circuits and making my own boards was probably the most difficult since I had zero knowledge. The transition of the home-built board is described here.
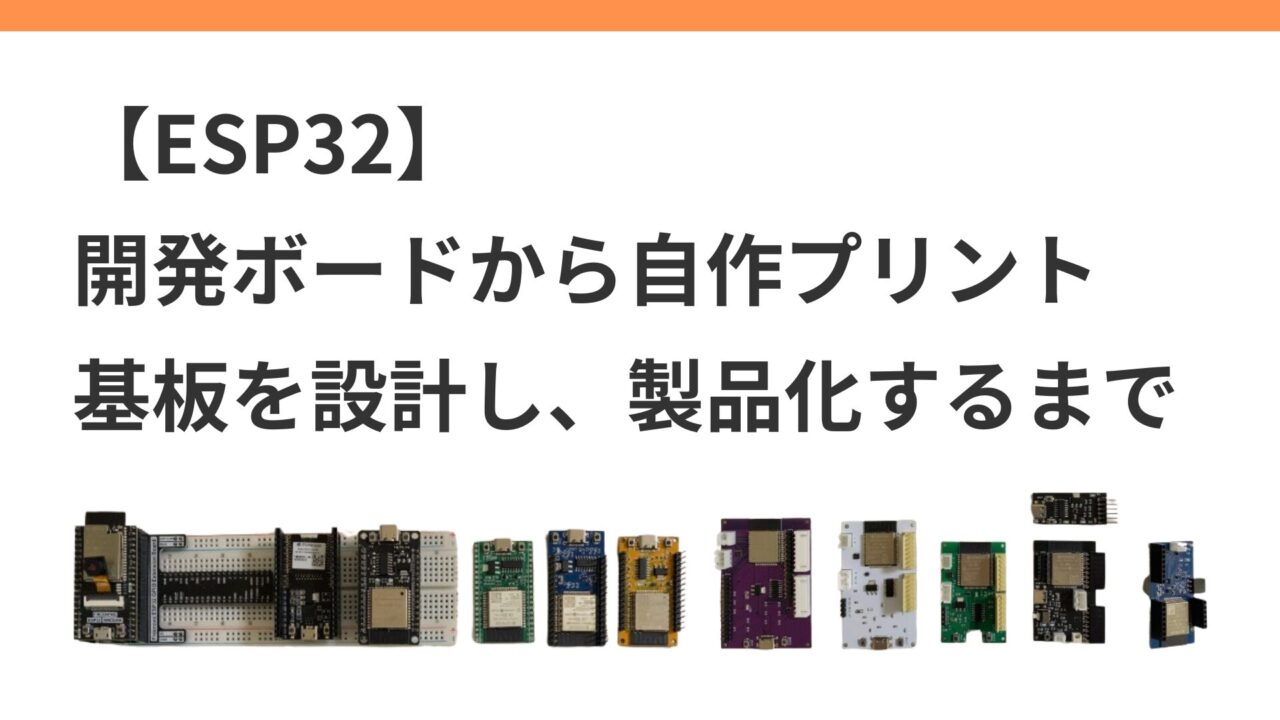
Almost there.

